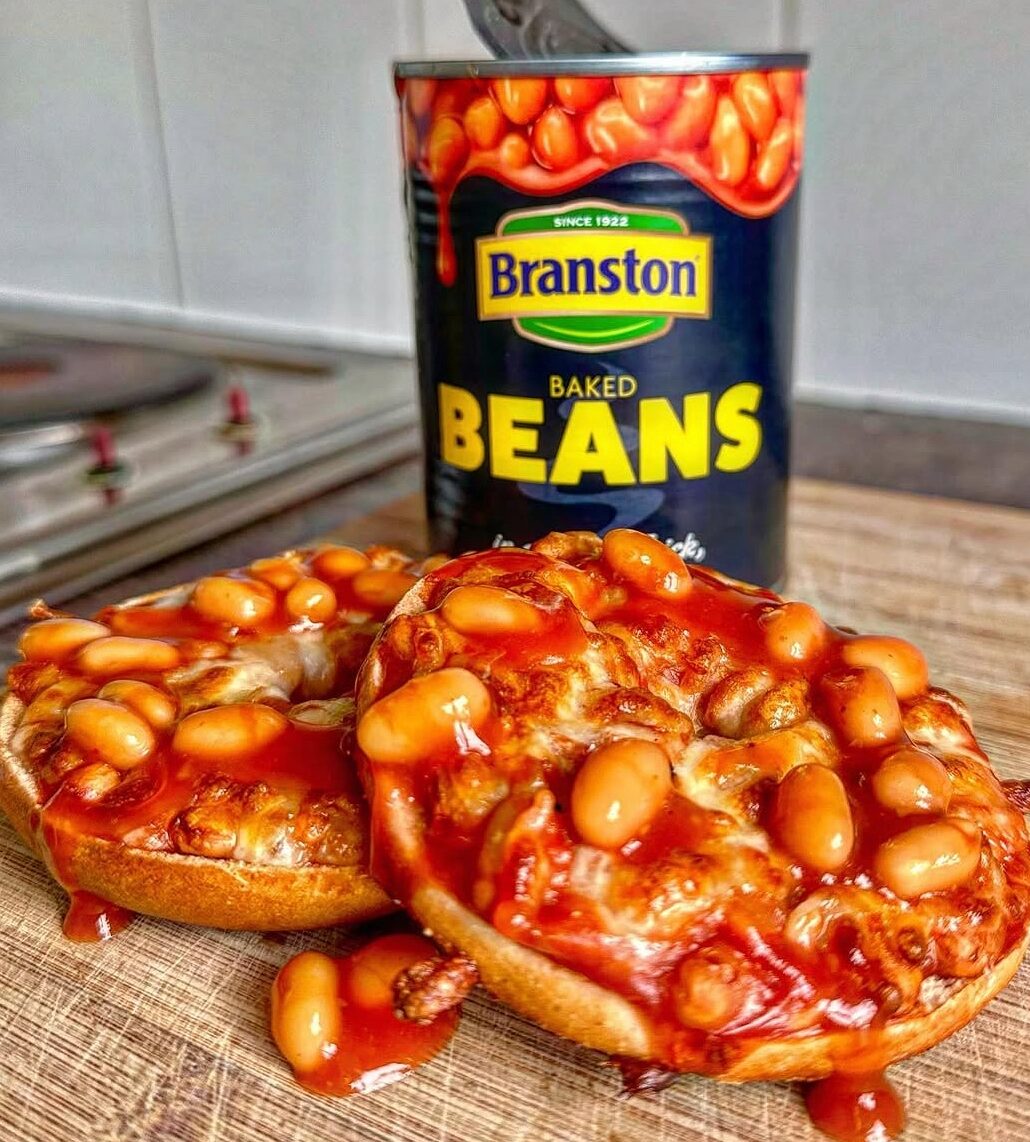
Cheese & Bean Bagels Recipe
Cheese and bean bagels are a delightful and easy-to-make dish that combines the comforting texture of bagels with the savory flavors of cheese and beans. This recipe offers a fun and satisfying way to enjoy bagels, whether for breakfast, lunch, or a quick snack. The combination of creamy cheese, hearty beans, and the soft chew of bagels is simply irresistible. You can customize it with different types of cheese and beans based on your preferences.
Let’s dive into this delicious Cheese & Bean Bagels recipe!
Ingredients:
For the Bagels:
- 4 bagels (any variety, but plain, sesame, or everything bagels work best)
- 1 tablespoon olive oil (for brushing)
- 1 teaspoon garlic powder (optional, for flavor)
- Salt (a pinch, to taste)
For the Bean Filling:
- 1 can (15 oz) of kidney beans, black beans, or pinto beans (or about 1 ½ cups cooked beans)
- 1 tablespoon olive oil (for sautéing)
- 1 small onion, finely chopped
- 1 small bell pepper, chopped (any color)
- 2 cloves garlic, minced
- ½ teaspoon cumin
- ½ teaspoon chili powder (optional, for a kick)
- 1 tablespoon lime juice (optional, adds a zesty flavor)
- Salt and pepper, to taste
For the Cheese Topping:
- 1 ½ cups shredded cheese (cheddar, mozzarella, or a blend of both work great)
- 1 tablespoon fresh parsley or cilantro, chopped (optional, for garnish)
Instructions:
Step 1: Preparing the Bean Filling
- Cook the beans:
- If you are using canned beans, drain and rinse them under cold water. If you’re using freshly cooked beans, just ensure they’re tender and soft.
- Sauté the vegetables:
- In a medium skillet, heat 1 tablespoon of olive oil over medium heat. Add the chopped onion and bell pepper. Sauté for about 4-5 minutes, until the vegetables soften and become aromatic.
- Add the garlic and spices:
- Add the minced garlic, cumin, and chili powder (if using) to the skillet. Stir for an additional 1-2 minutes until the garlic becomes fragrant.
- Add the beans:
- Add the rinsed beans to the skillet and stir to combine with the vegetables and spices. If the mixture seems too dry, you can add a tablespoon of water or broth to help it come together.
- Mash the beans:
- Using a fork or potato masher, lightly mash some of the beans, leaving a few whole for texture. You want the mixture to be a bit chunky, not completely smooth.
- Finish with lime juice:
- Add lime juice to the bean mixture and stir well. Taste and adjust the seasoning with salt and pepper to your preference.
Step 2: Preparing the Bagels
-
Preheat the oven:
- Preheat your oven to 375°F (190°C). This is the ideal temperature for toasting the bagels and melting the cheese perfectly.
-
Slice the bagels:
- Slice each bagel in half horizontally, creating two equal halves.
-
Brush with olive oil:
- Brush the cut sides of the bagels with olive oil to help them toast and get golden brown in the oven. You can also sprinkle a little garlic powder and salt on top of the bagels if you want extra flavor.
-
Toast the bagels:
- Place the bagel halves on a baking sheet, cut-side up, and toast them in the preheated oven for about 5-7 minutes, or until they’re lightly golden and crisp.
Step 3: Assemble the Cheese & Bean Bagels
-
Layer the beans:
- Once the bagels are toasted, spoon the bean mixture evenly onto each bagel half, spreading it out in a thick, even layer.
-
Top with cheese:
- Sprinkle the shredded cheese generously on top of the bean mixture. You can use a single cheese or a mix of cheddar and mozzarella for a nice balance of sharp and melty flavors.
Step 4: Bake to Perfection
- Melt the cheese:
- Return the bagels to the oven and bake for an additional 5-7 minutes, or until the cheese is fully melted and bubbly. If you like your cheese slightly browned, you can broil the bagels for an extra 1-2 minutes, keeping a close eye on them to prevent burning.
Step 5: Serve
- Garnish and enjoy:
- Once the cheese is melted and golden, remove the bagels from the oven and let them cool for a minute. Optionally, sprinkle with fresh parsley or cilantro for a burst of color and flavor.
- Serve your Cheese & Bean Bagels warm, and enjoy!
Serving Suggestions
Cheese & Bean Bagels are filling and flavorful, so they’re perfect on their own for a quick meal or snack. However, if you want to make the meal more substantial, consider pairing them with:
- A side salad: A fresh green salad with a tangy vinaigrette or a simple side of mixed greens can balance out the richness of the cheese and beans.
- Pickled vegetables: The tang of pickled cucumbers or other veggies pairs well with the creamy and savory flavors of the bagels.
- Roasted potatoes: Crispy roasted potatoes with garlic and herbs are a great accompaniment for a hearty meal.
- Sliced avocado: Top the bagels with some fresh avocado slices for an added creamy, healthy touch.
Tips and Variations
-
Vegan Option: To make these bagels vegan, simply omit the cheese or use a dairy-free cheese alternative. You can also swap the butter with olive oil for toasting.
-
Add Some Heat: For a spicier version, add jalapeño slices to the bean mixture, or sprinkle red pepper flakes on top before baking.
-
Use Different Beans: Feel free to use different types of beans, such as black beans, pinto beans, or chickpeas, depending on what you have available or prefer.
-
Top with Fried Egg: If you’re looking for an extra protein boost, top each bagel with a fried egg for a complete breakfast or lunch option.
-
Add Veggies: For more texture and nutrition, consider adding some sautéed spinach, mushrooms, or zucchini to the bean mixture before spreading it on the bagels.
Conclusion
These Cheese & Bean Bagels are a fun and satisfying twist on a classic bagel. The combination of cheesy, creamy, and savory flavors with hearty beans makes them a perfect meal for breakfast, lunch, or a snack. Whether you’re making them for yourself or serving them to friends or family, they are sure to be a hit. With endless customization options, you can easily adjust the recipe to your tastes or dietary needs. Enjoy these tasty, cheesy delights straight from the oven!