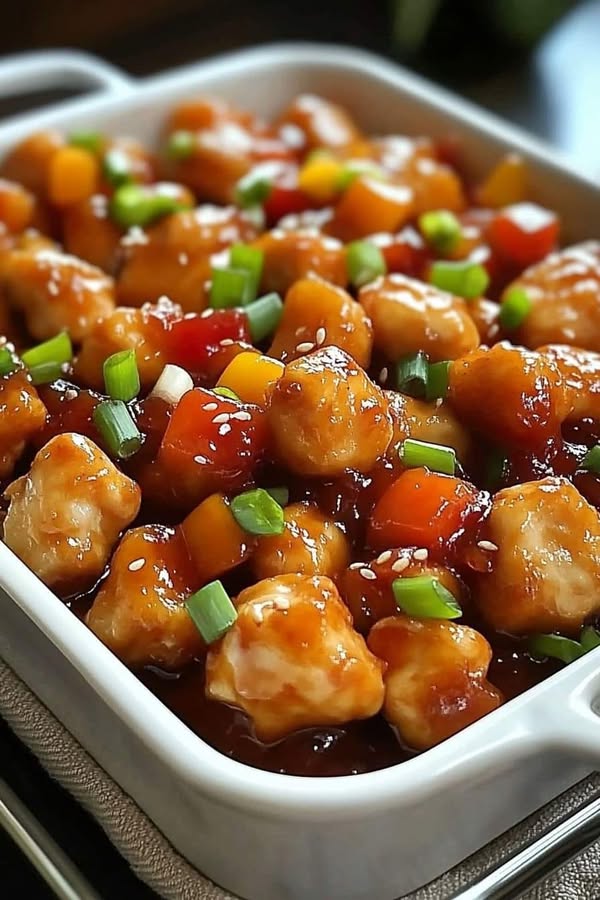
Juicy, crispy chicken coated in a tangy, homemade sweet and sour sauce with colorful veggies and pineapple—lighter and better than takeout!
Servings & Timing
Prep Time: 20 minutes
Cook Time: 25 minutes
Total Time: 45 minutes
Yield: 4 servings
Dietary Tags: Lower Sugar, High-Protein, Family-Friendly
📝 Ingredients
For the Chicken:
-
Boneless, skinless chicken breasts (cut into bite-sized pieces)
-
Salt & black pepper
-
Cornstarch
-
Large eggs (beaten)
-
Cooking spray
For the Sweet and Sour Sauce:
-
Reduced-sugar ketchup
-
Rice vinegar
-
Reduced-sodium soy sauce
-
Granulated sugar substitute (erythritol or Stevia)
-
Garlic (minced)
-
Fresh ginger (grated)
-
Water
-
Cornstarch
For the Vegetables & Pineapple:
-
Red bell pepper (chunked)
-
Green bell pepper (chunked)
-
Small onion (chunked)
-
Pineapple chunks (fresh or canned in juice, drained)
🔪 Instructions
Step 1: Prepare the Chicken
-
Preheat oven to 400°F (200°C).
-
Season chicken pieces with salt and pepper.
-
Place cornstarch and beaten eggs in separate shallow dishes.
-
Coat chicken pieces first in cornstarch, then in egg.
Step 2: Brown the Chicken
-
Heat a non-stick skillet over medium-high heat and spray with cooking spray.
-
Cook chicken for 2–3 minutes per side until browned and crispy (work in batches if needed). Set aside.
Step 3: Make the Sweet and Sour Sauce
-
In a saucepan, whisk together ketchup, rice vinegar, soy sauce, sugar substitute, garlic, ginger, water, and cornstarch.
-
Cook over medium heat, stirring constantly, until thickened (about 3–4 minutes). Remove from heat.
Step 4: Assemble and Bake
-
In a large baking dish, combine browned chicken, bell peppers, onion, and pineapple chunks.
-
Pour the sauce over and toss gently to coat.
-
Cover with foil and bake for 20–25 minutes until chicken is cooked through and veggies are tender.
Step 5: Serve
-
Serve over steamed rice or cauliflower rice. Garnish with green onions or sesame seeds, if desired.
💡 Notes & Tips
-
Rice swap: Use cauliflower rice or brown rice to keep points lower.
-
Make it spicier: Add red pepper flakes to the sauce for heat.
-
Batch cook: Double the recipe for meal prep—leftovers reheat beautifully!
📸 Step-by-Step Guide
(Suggested photo ideas: chicken dredging → browned chicken → sauce simmering → everything combined in the baking dish → baked dish served over rice)
Pro Tip: Don’t overcrowd the skillet when browning the chicken to maintain crispiness!
🥄 Ingredient Insights & Swaps
Why these ingredients?
-
Chicken breast: Lean protein source.
-
Sugar substitute: Reduces calories and W-W points without sacrificing sweetness.
-
Veggies & pineapple: Add texture, color, and natural sweetness.
Substitutions:
-
Use boneless chicken thighs for juicier meat (will increase W-W points slightly).
-
Gluten-free soy sauce or tamari for gluten-free diets.
🎨 Flavor Variations & Serving Ideas
Flavor Add-Ins:
-
Swap pineapple for mango chunks for a tropical twist.
-
Add snap peas or broccoli for extra veggies.
Serving Suggestions:
-
Serve over steamed rice, brown rice, or cauliflower rice.
-
Garnish with green onions, sesame seeds, or a squeeze of lime juice.
🧊 Storage & Make-Ahead
-
Storage: Refrigerate leftovers in an airtight container for up to 3 days.
-
Freezing: Freeze cooked chicken and sauce mixture (without veggies) for up to 2 months.
-
Reheating: Warm gently in the oven or microwave.
🔎 Nutrition & W-W Points (per serving estimate)
Calories: ~330 kcal | Protein: ~30g | Carbs: ~18g | Fat: ~10g
W-W Points (per serving, based on 4 servings):
➡️ 5 Points (using sugar substitute and cooking spray, not oil)
➡️ 7 Points if using regular sugar and regular soy sauce.
Note: W-W Points can vary depending on ingredient brands and portion sizes. For precise tracking, input your ingredients into the W-W app.
Allergens: Egg, Soy
❓ Frequently Asked Questions
Q: Can I make this entirely in the skillet?
A: Yes—you can skip baking by simmering the browned chicken and veggies in the sauce until cooked through, but the oven method helps meld the flavors better.
Q: Can I prep this ahead?
A: Absolutely—brown the chicken and prepare the sauce a day ahead. Assemble and bake when ready to serve.
Q: Can I use frozen pineapple?
A: Yes, just thaw and drain well before adding to the dish.
📝 The Story Behind the Recipe
This sweet and sour chicken recipe was inspired by my love of takeout-style dishes but with a healthier, home-cooked twist. By baking the chicken and using a sugar substitute, it keeps all the flavor while trimming down the calories and points—a family favorite that’s now a weekly staple!
🗨️ Let’s Chat!
Did you try this recipe? What veggies or variations did you use? Drop a comment or tag me with your sweet and sour creations!